NBA 2K26 introduces deeper refinements to shooting mechanics, forcing players to adapt to new timing windows, stamina effects, contest sensitivity, and badge synergies. Many players struggle not because they lack skill, but because they haven’t mastered shot timing—the most essential system that determines consistency. In this blog, we explore one specific topic: how to dominate NBA 2K26 by controlling shot timing, understanding release points, and adapting to dynamic in-game variables. This deep-dive will help you achieve reliable greens, outperform defenders, and elevate your scoring potential in every mode, from MyCareer to Park and Pro-Am.
Understanding Timing Windows in NBA 2K26
Shot timing in NBA 2K26 is more sensitive than previous years. Each jumper has a unique rhythm, arc, animation length, and green window.
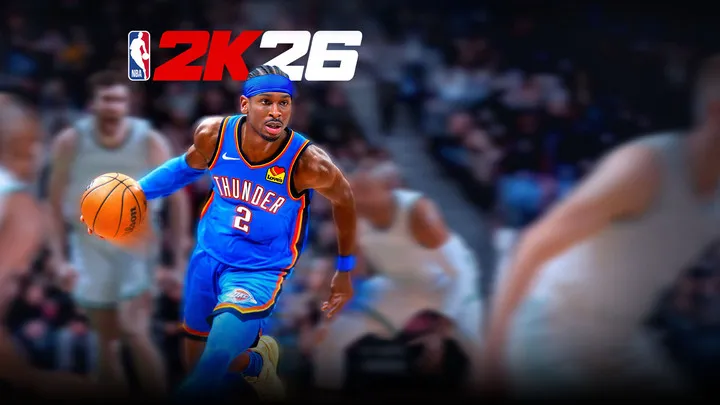
The first step to mastering your shot is recognizing the timing window’s movement. It changes based on stamina, defensive pressure, and dribble combinations. Instead of memorizing a fixed release, players must read and react. The system encourages smooth, consistent mechanics, which means practicing your base jumper intensively before switching animations.
The game rewards players who can predict timing shifts. You must learn the difference between a fatigued shot and a fresh one. The more aware you are, the easier it becomes to compensate mid-game, even when defenders are forcing you into tough positions.
Shot Speed Variability
Certain bases are faster or slower depending on where you take the shot. Wings are slower; corner shots are faster. Understanding this helps you green more consistently.
Adjusting to Latency
Online delay affects release timing. Learn to add a mental delay for Park/Rec versus MyCareer.
Building a Jumper That Matches Your Playstyle
A good jumpshot is not just about making greens—it must fit your movement style. NBA 2K26 offers a broader range of bases, uppers, and releases, meaning the “best” shot depends on how you play.
Spot-up shooters need stable bases with predictable green windows, while dribble-pull-up creators need faster releases with minimal load time. Understanding your role ensures you avoid jumpers that feel good in practice but fail under pressure.
Choosing a jumper begins with identifying your cadence. Some bases have a smooth, upward drift, while others feature explosive lift-off. Pick something that feels natural, not forced.
Best Bases for Different Archetypes
• Fast guards: quick-release bases
• Wings: medium-speed bases with high arc
• Big men: wide, stable bases for catch-and-shoot
Release Blend Importance
Blend percentages affect your arc and stability. Test 60/40 or 70/30 blends for smoother greens.
The Role of Stamina in Shot Timing
Stamina drastically affects jump shots in NBA 2K26. When your stamina bar drops, your release point changes, the shot becomes slower, and your green window shrinks.
Managing stamina is crucial for consistency. Dribble moves drain energy, especially tight combos and explosive crossovers. Many players miss late-game shots because they ignore stamina management.
Stamina-friendly players know when to reset, pass, or slow down to regain energy before attacking again.
Avoid Over-Dribbling
Combo spamming leads to early/late releases. Simplify your dribbles to maintain stamina.
The Perfect Pull-Up Moment
Shoot when stamina is above 60% to maximize green potential.
Using the Shot Meter vs. Shooting Without It
The debate continues yearly: meter or no meter? NBA 2K26 improves both systems, giving players choice.
Using the meter helps new players track the fluctuating green window. However, playing without the meter offers a slight boost and increases long-term consistency once muscle memory is built.
Choosing the right approach depends on your confidence. Beginners should start with the meter, then disable it once timing feels natural.
When to Use the Meter
Use it when learning new bases or experimenting with releases.
When to Turn It Off
Turn it off after 150–200 practice shots with your chosen jumper.
Reading Defensive Contests
NBA 2K26 has a refined contest sensitivity system. Light contests barely affect timing, but heavy contests drastically shrink your green window.
Players must read defenders’ body angles and anticipate closeouts. Recognizing when to shoot is as important as timing itself. Smart shot selection reduces the number of “bad timing” attempts because you’ll only take high-quality looks.
Shot IQ Patterns
Pump fakes create open looks. Hesitations disrupt defenders’ timing.
Avoiding Heavy Contests
Shoot early or relocate quickly off-ball to escape pressure.
Mastering Catch-and-Shoot Mechanics
Catch-and-shoot is easier than off-dribble shooting, but the timing window can still shift depending on reception angle and pass speed.
Good catch-and-shoot players always prepare before receiving the ball. This means positioning your feet, centering your body, and expecting the ball. Once it arrives, your timing becomes natural.
Strong passers increase shot stability. In modes like MyCareer, use badges and teammates who enhance your catch-and-shoot conditions.
Fast Passes = Faster Release
Bullet Passer and faster animations lead to different timing adjustments.
Avoid Shooting While Leaning
Set your feet. Leaning significantly alters release timing.
Off-Dribble Shooting and Movement Timing
Off-dribble shooting introduces movement variables that change your release. You must learn separate timings for:
• stepbacks
• fades
• pull-ups
• hop jumpers
Each animation type has its own rhythm. Players often miss because they expect the same release timing from all shot types.
Shot Creation Rhythm
Wait until the body straightens before releasing the ball.
Avoid Drifting Too Much
Excess drifting widens the timing window but reduces accuracy.
Badge Synergy for Consistent Timing
Badges in NBA 2K26 can either help or hurt your shot timing depending on your setup. Shooting badges boost specific scenarios: movement shots, catch-and-shoot, contested shots, etc.
Instead of stacking random badges, choose a combination that reinforces your natural strengths. Avoid badges that push you into playstyles you’re not comfortable with.
Best Badges for Timing Consistency
• Green Machine
• Deadeye
• Limitless Range
• Catch & Shoot
• Agent 3
Over-Reliance on Badges
Badges don’t fix poor timing. They enhance strong fundamentals.
Adapting Timing Across Game Modes
Different game modes feature different rhythms due to latency, spacing, and defensive intensity. Park feels different from Rec, and Rec feels different from MyCareer.
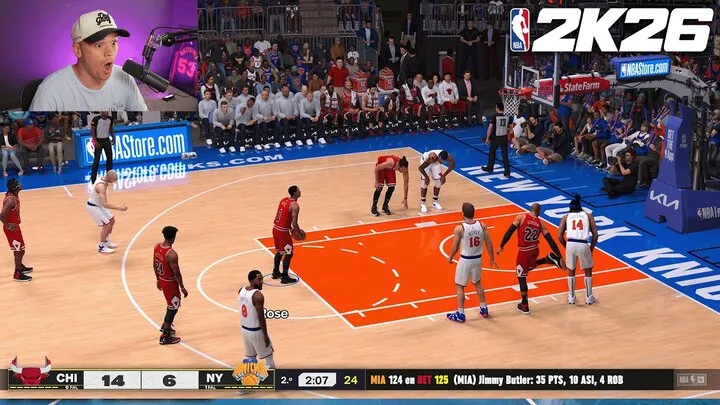
Players who adjust timing per mode instantly gain an advantage. You must avoid assuming your MyCareer timing will translate directly to online play.
Park Timing
Faster gameplay means earlier releases work better.
Rec Timing
Tighter defenses and latency require a slight delay in timing.
Endgame Shot Timing Decisions
The last minutes of a close game often induce panic. Players rush shots or mistime releases due to pressure.
Endgame decision-making requires composure. If your stamina is low, your defender is pressing, or you’re forcing a tough angle, your release timing suffers automatically. The best players slow down, reset, and choose optimal moments to attack.
High-Pressure Release Control
Practice release timing with fatigue to mimic clutch moments.
Knowing When Not to Shoot
Passing to a teammate can secure better rhythm and spacing.
Conclusion
Mastering shot timing in NBA 2K26 goes far beyond simply learning when to release the button. It’s an evolving skill influenced by stamina, animation selection, defensive pressure, latency, and badge synergy. By understanding timing windows, building a jumper that matches your playstyle, controlling fatigue, adapting to different modes, and practicing with intentionality, you gain the consistency needed to dominate both offline and online modes. Shot timing mastery is what separates casual players from elite scorers—and once you understand its depth, the entire game changes.


